Major Assembly
The fuselage is finally complete. There is a bit of filler where the joins could have been better but sometimes it's better to bite the bullet and glue stuff knowing that you can fill and sand rather than tinker for ages trying to get a perfect join.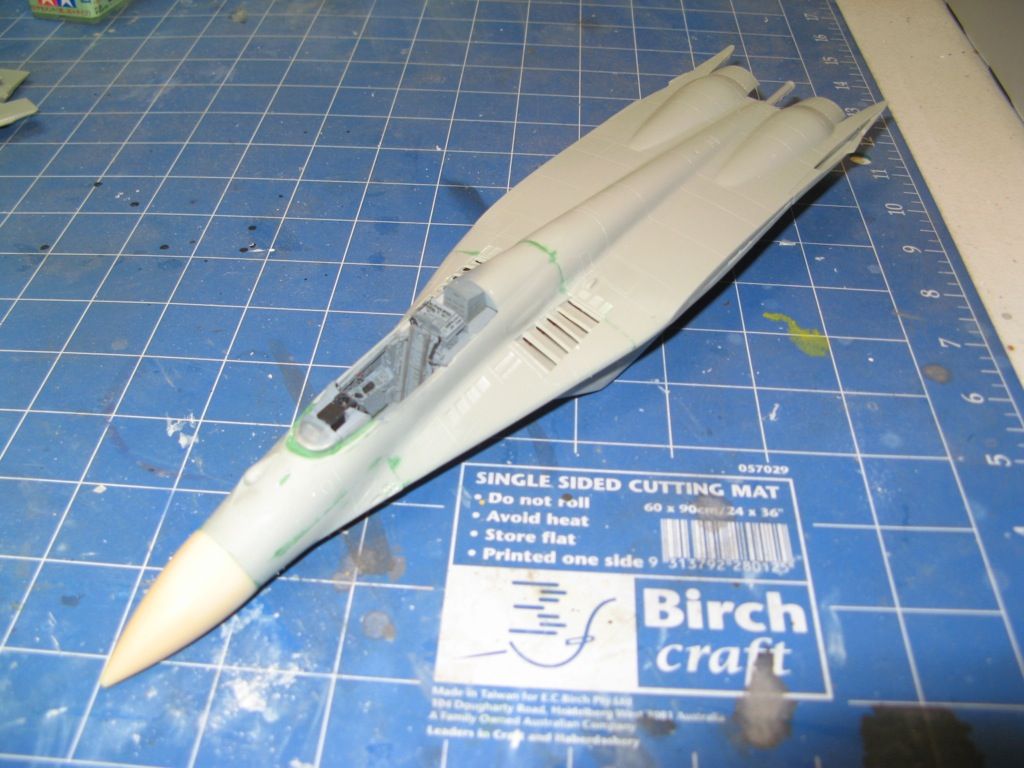
Wings and tails are on. I've removed the rudders as I want to post these slightly off centre. I think it makes the aircraft look more alive. The clothespeg is on the tail to ensure that it is flush against the rebate in the fuselage while the glue dries.
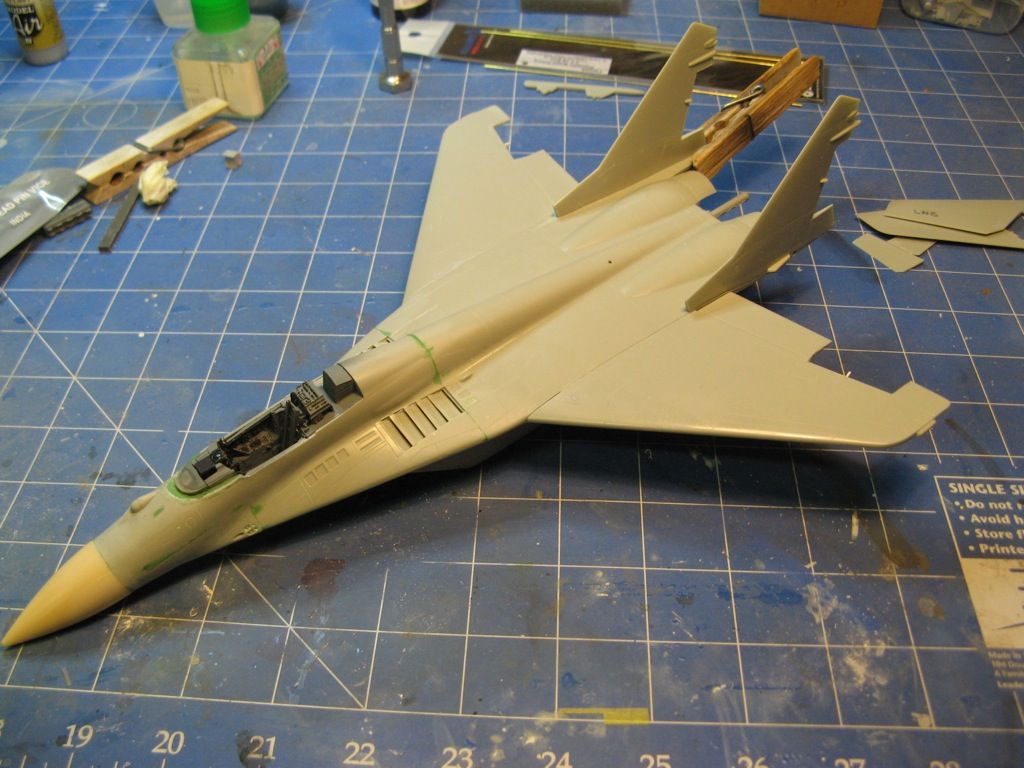
I used the cockpit surround from the Eduard "Big Ed" detail set. There was some surgery of the part in order to get it to fit over the Aires cockpit set. With a cleanup and a bit of paint it's going to look the business.
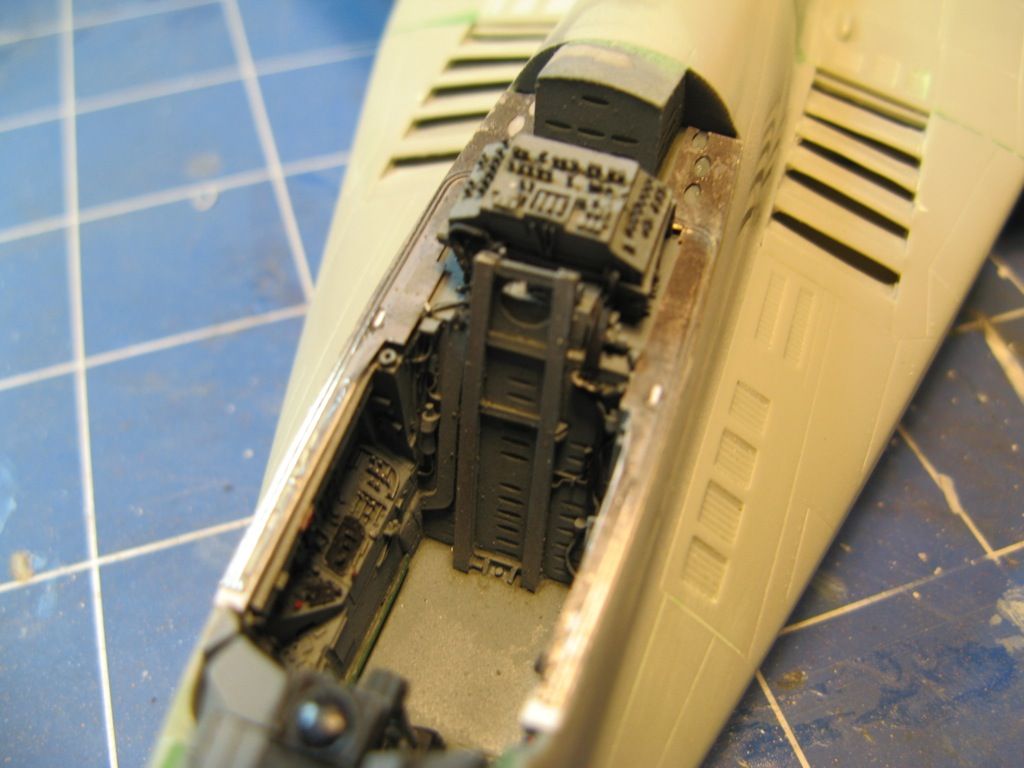
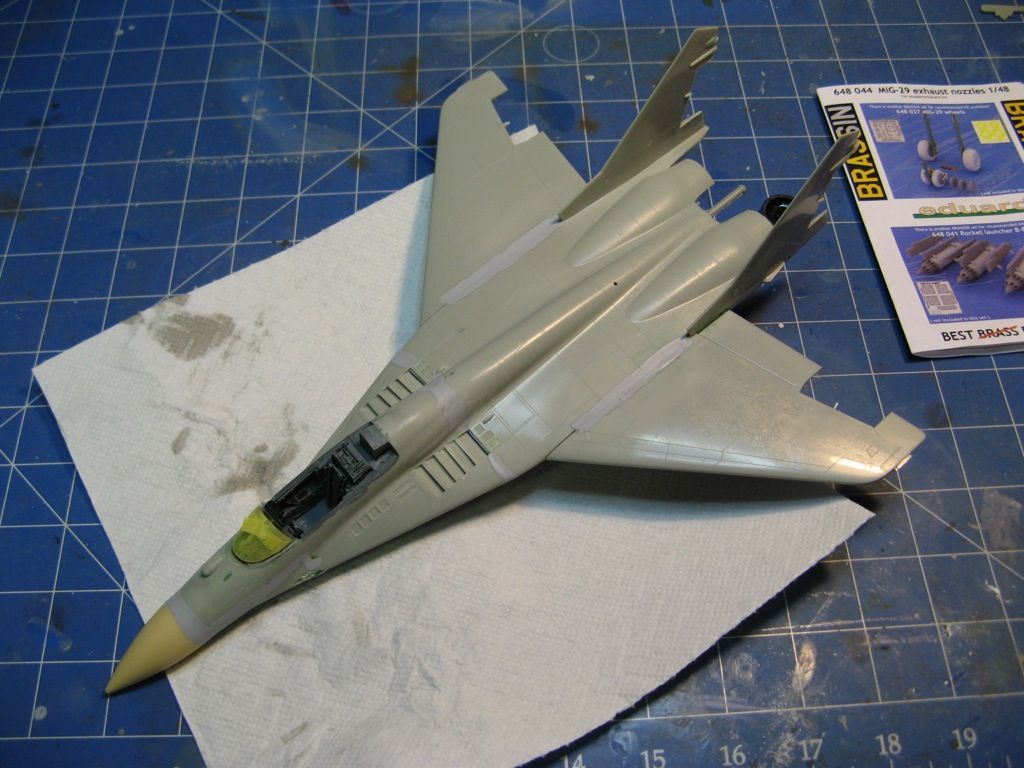
The HUD assembly was completed and the front canopy section was given a polish, a clean in isopropyl alcohol and then dipped in Future and left to dry under an upturned container to keep the dust off. It was then masked in preparation for painting and then glued onto the fuselage. All of the joints were given a coat of Mr Surfacer to ensure that the final finish will be seamless.
Kick the Tires and Light the Fires.
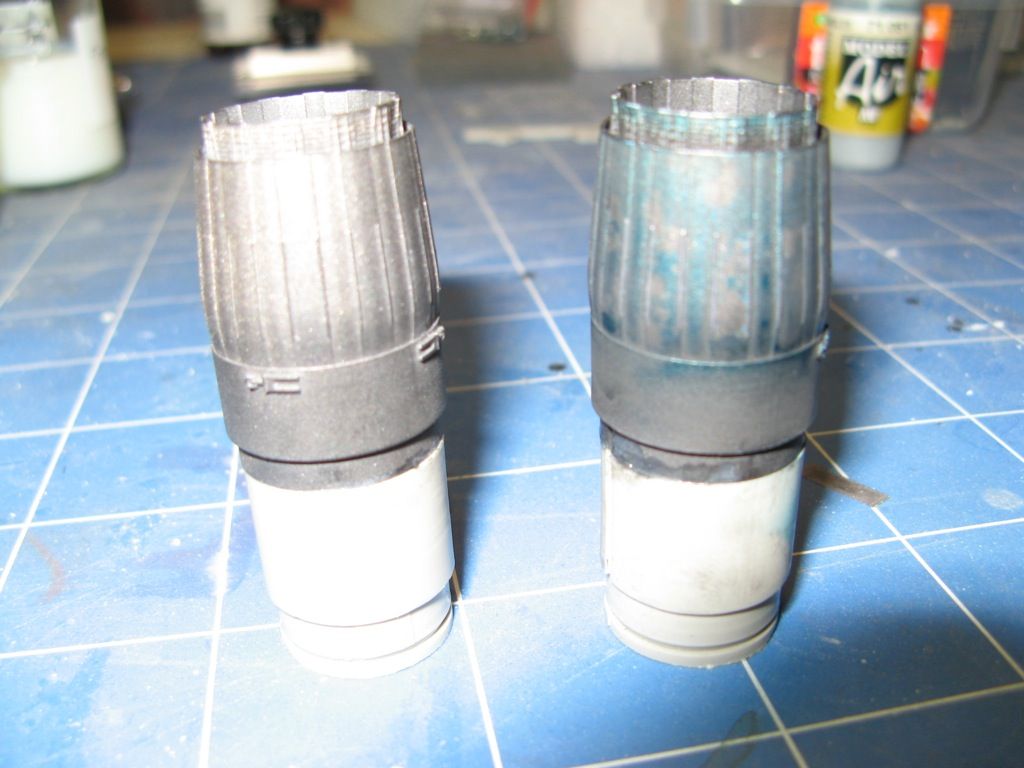
While the Mr Surfacer fuselage was drying on the fuselage I decided to make a start on the Burners. The Eduard burners are a really nice addition to this kit. The level of detail is miles better than the ones that come with the kit. I started by spraying them matt black and then drybrushing the compressor blades in a gunmetal colour. The burners come with photetch for the afterburner assembly.

After installing the afterburner assembly I glued the separate sections together and then sprayed Mr Metal Color Dark Iron. This is a buffable paint making it look like real metal once dry and given a buff. Afterwards a coat of Alclad II Jet exhaust was sprayed towards the exhaust end followed by a highlight with Alclad II Pale Burnt Metal. Once dry I use water and salt to mask off random patches on every other exhaust section.

Once the salt was dry I sprayed Alclad II Transparent Blue to represent the heat bloom you often get on hot metal. You can see this on the burner on the right. I dropped the one on the left and the salt fell off so I'll have to do that one later. The flash on the camera makes the heat bloom appear a brighter blue than it really is.
The effect I am trying to get can be seen here on the real aircraft.

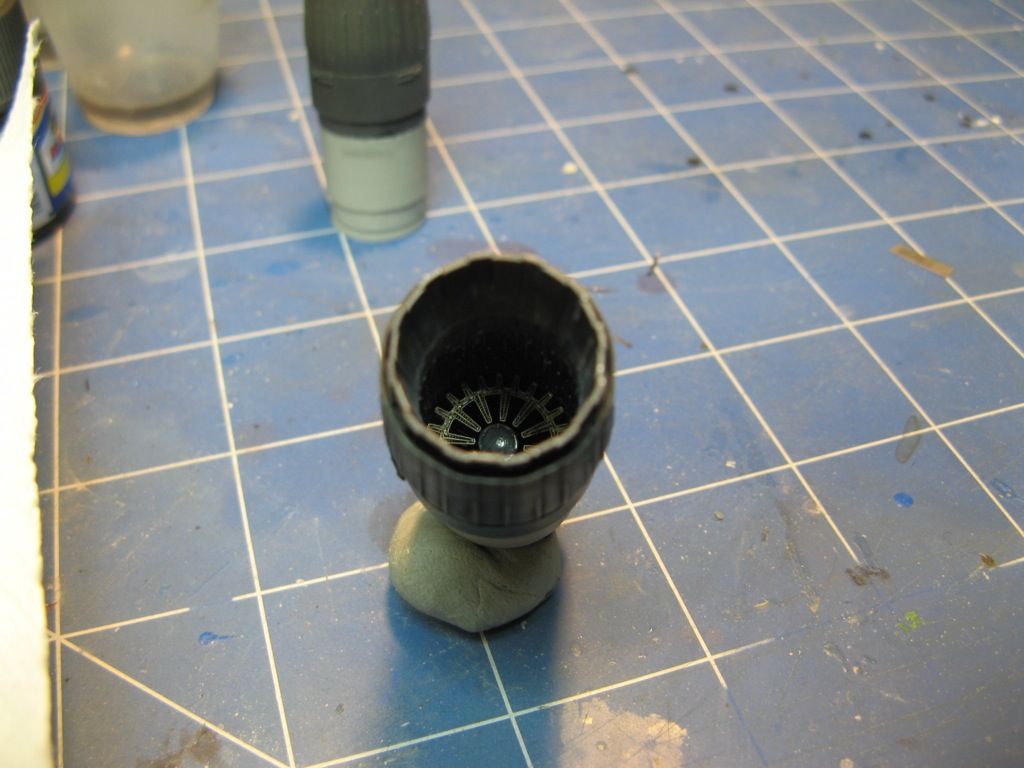
As I said these burners look really cool. I love that you can see the detail on the after burner once it's all assembled.
On to part 6.
No comments:
Post a Comment