Russian Engineering
Russian engineering can sometimes be amusing. Underneath the Mig-29 there is an exhaust for the auxiliary power unit (APU). However when the centre-line drop tank is being carried it interferes with this exhaust. The Russian solution - make the APU vent through the drop tank.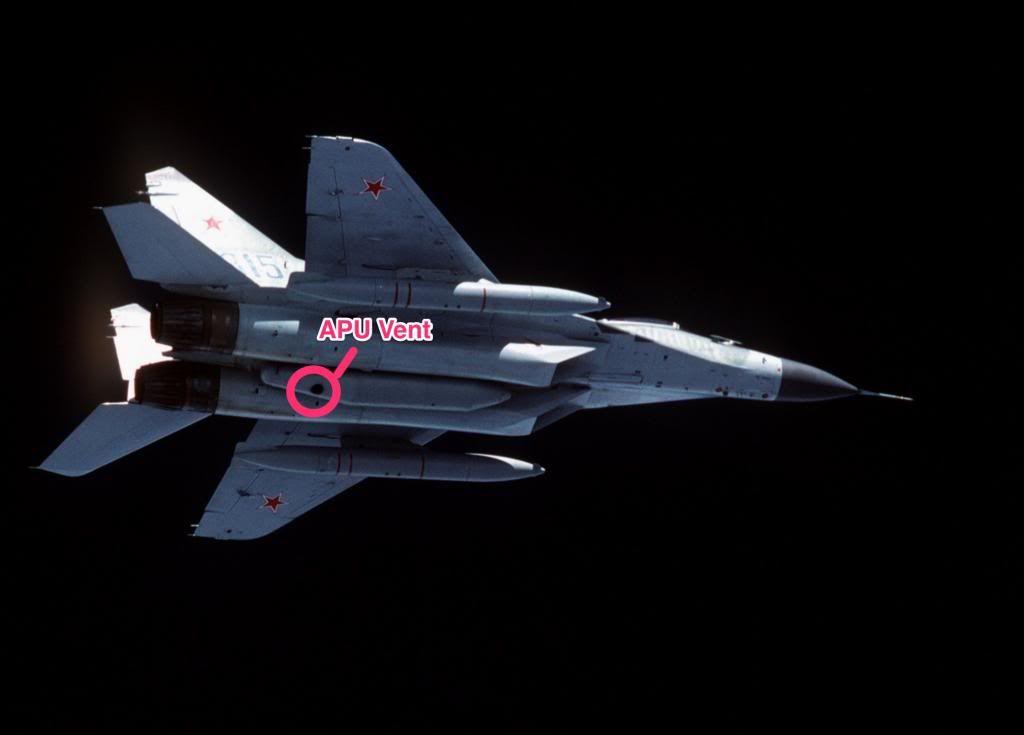
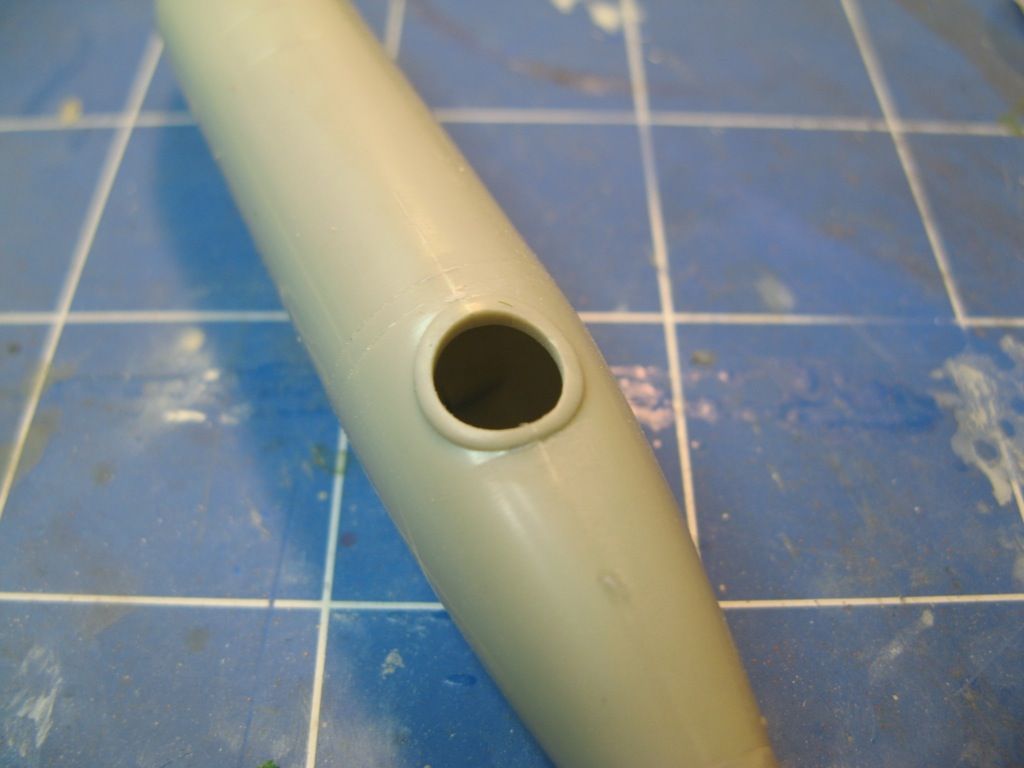
On the Academy kit the APU vent is represented as a raised circular area on the bottom of the drop tank. This needed to be drilled out to a diameter of 7mm, a rather tricky task requiring a sequence of successively larger drills. I didn't have a 7mm drill but I did have a 6.5mm drill so I got the hole up to that size and used some wet and dry sandpaper wrapped around a suitably sized piece of dowel to get the hole to the required 7mm.
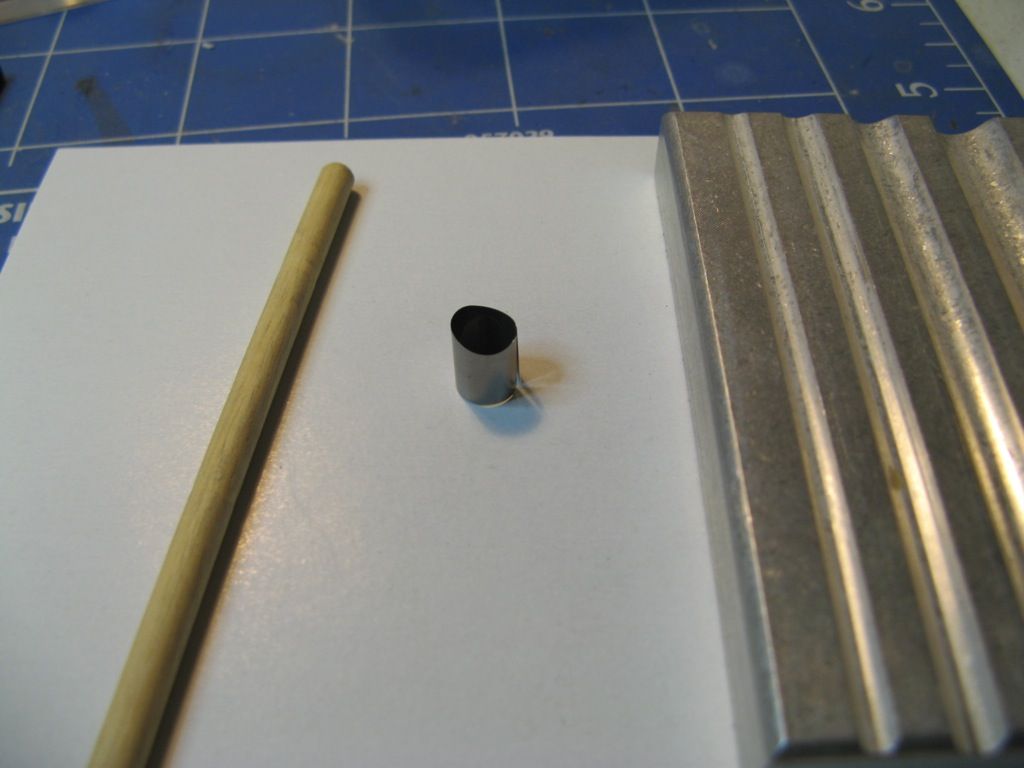
The next challenge was to roll a photoetched insert into a tube to fit into the hole. I started with this...

...and using my Small Shop photoetch rolling kit I managed to get it to this.
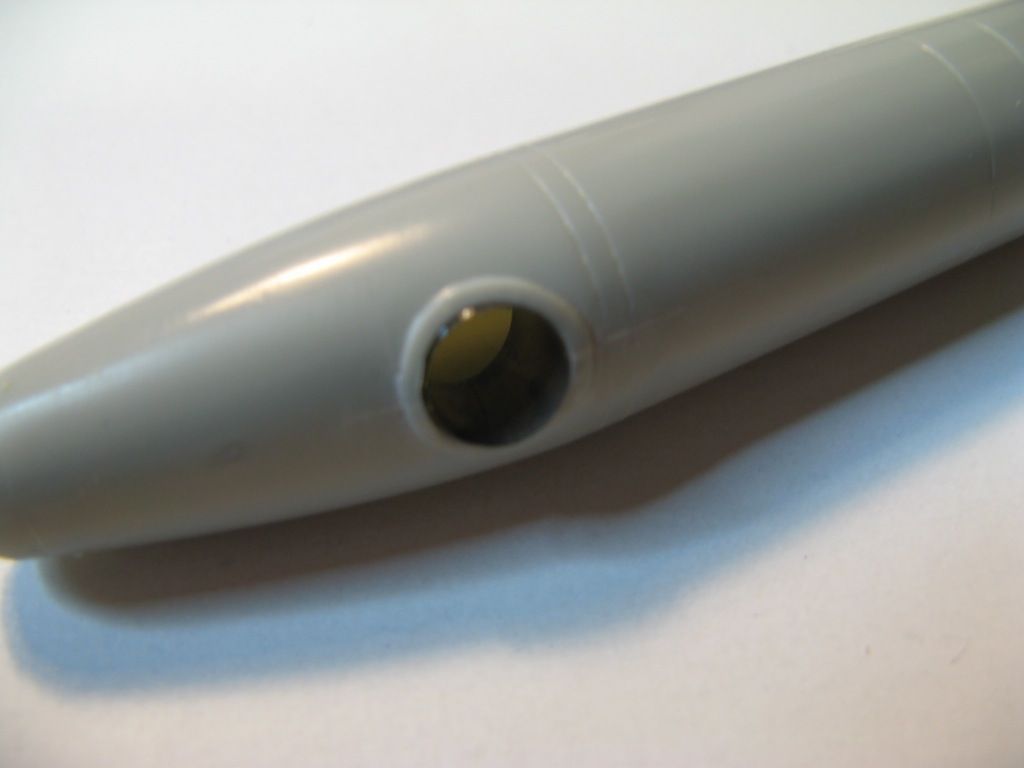
I was then finally able to insert it into the hole created in the drop tank. This did not go as smoothly as I would have liked as on two separate occasions I managed to push the piece in so far that it fell in and was rattling around inside the drop tank. It was quite difficult to get it out again but I persisted and eventually got it into place.
Time to Prime
I decided that the I would put the ailerons back at this stage. They were slightly offset to give a bit of life to the model. Once the cement was set I masked the wheel wells and gave the model a clean using a paper towel soaked in isopropyl alcohol.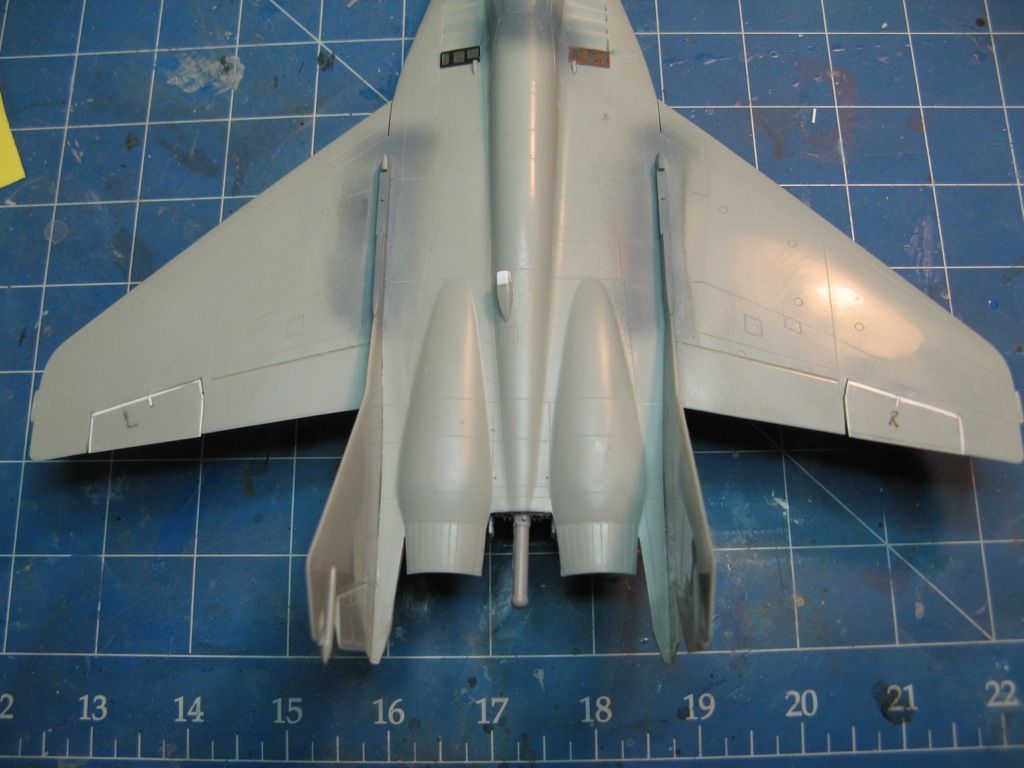
I sprayed a light primer coat using Vallejo Grey Polyurethane Surface Primer. It's the first time I have used this product and I have to say I was impressed. I'll have to get a larger bottle as I will definitely be using this product again.
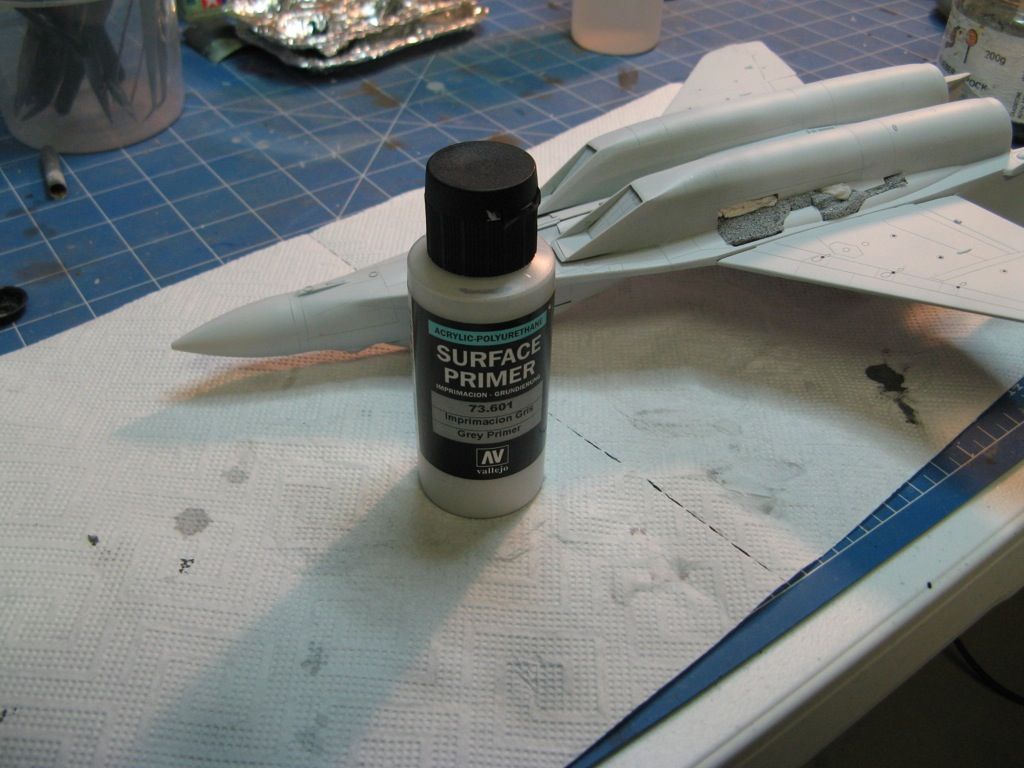
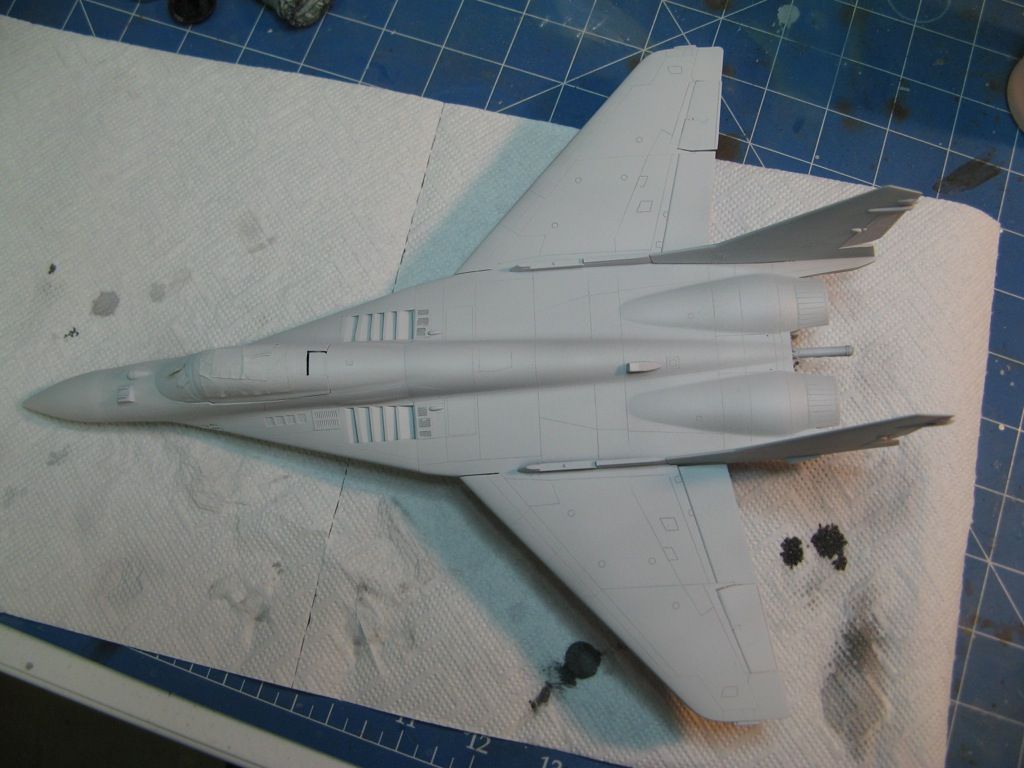
I had a cursory look over the model to see if there are any areas that need further attention but none jumped out. I'll have a more careful look before I start to spray the camo. I am happy with how it's looking so far.
While the primer is curing fully I started on the undercarriage. The gear legs are from Scale Aircraft Conversions. These are detailed with some of the Aires resin and Eduard photoetch.

That's all for now. Next time I will start on the camo and maybe get the main gear done.
On to part 9.
No comments:
Post a Comment