Somewhere to Sit
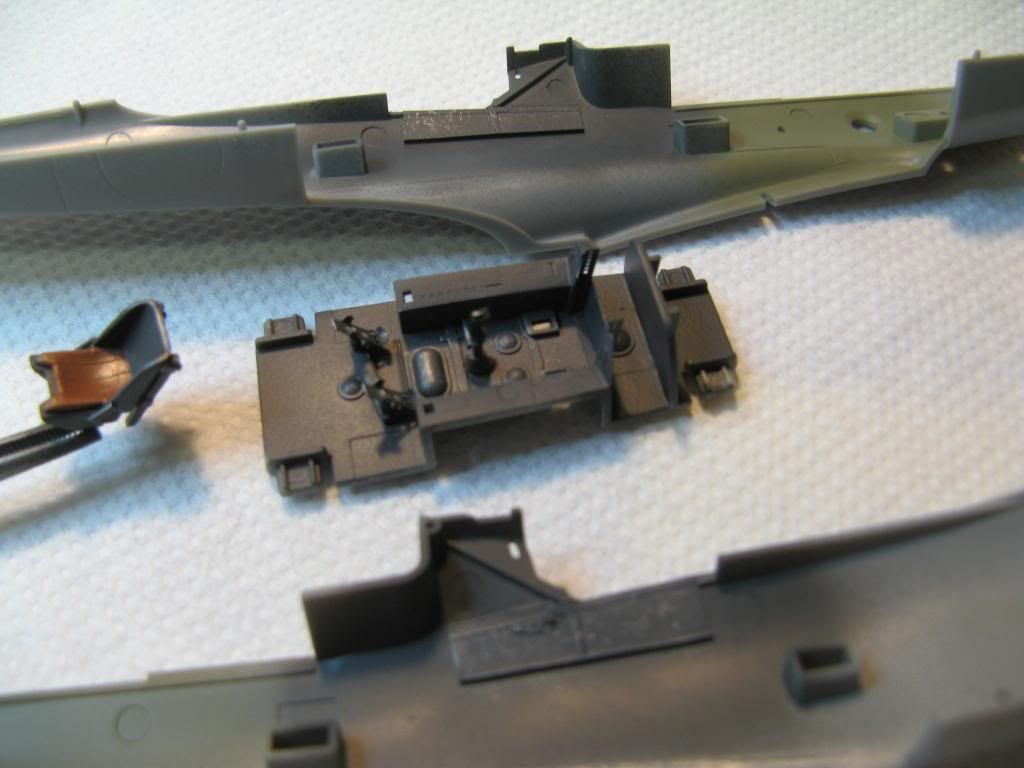
Like most model aircraft, construction starts with the cockpit. Since I'm using the Eduard detail set some of the plastic bits won't be used. I started by removing the bits that were going to be used from the sprue. These were test fitted into the fuselage before gluing selected pieces.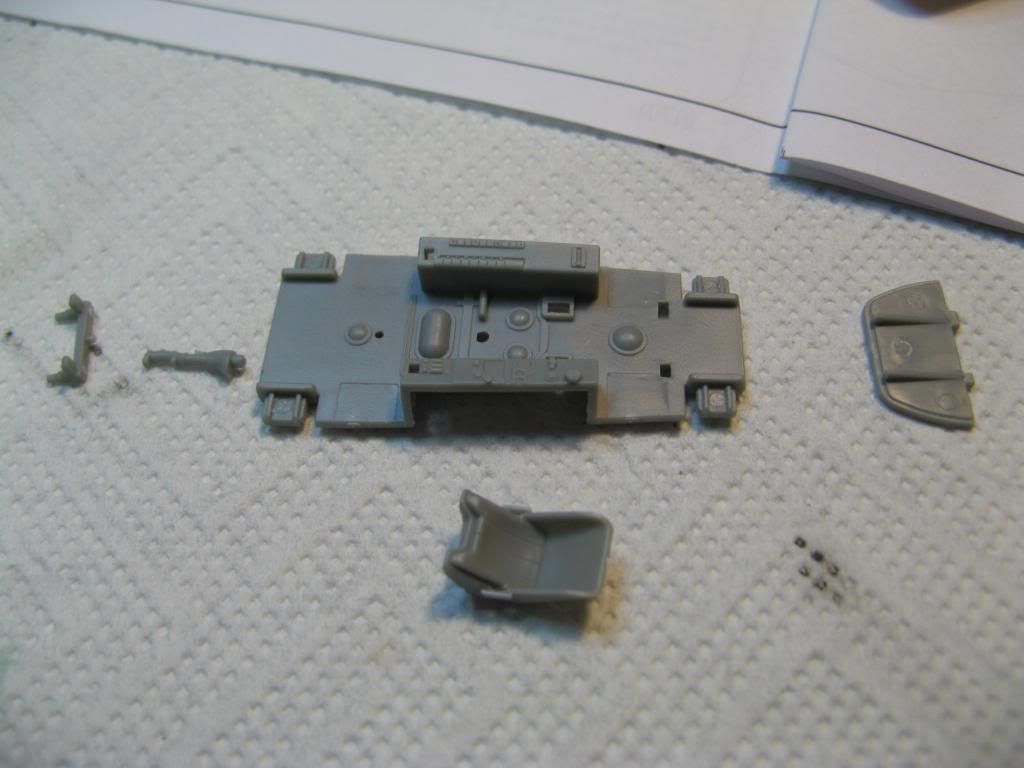
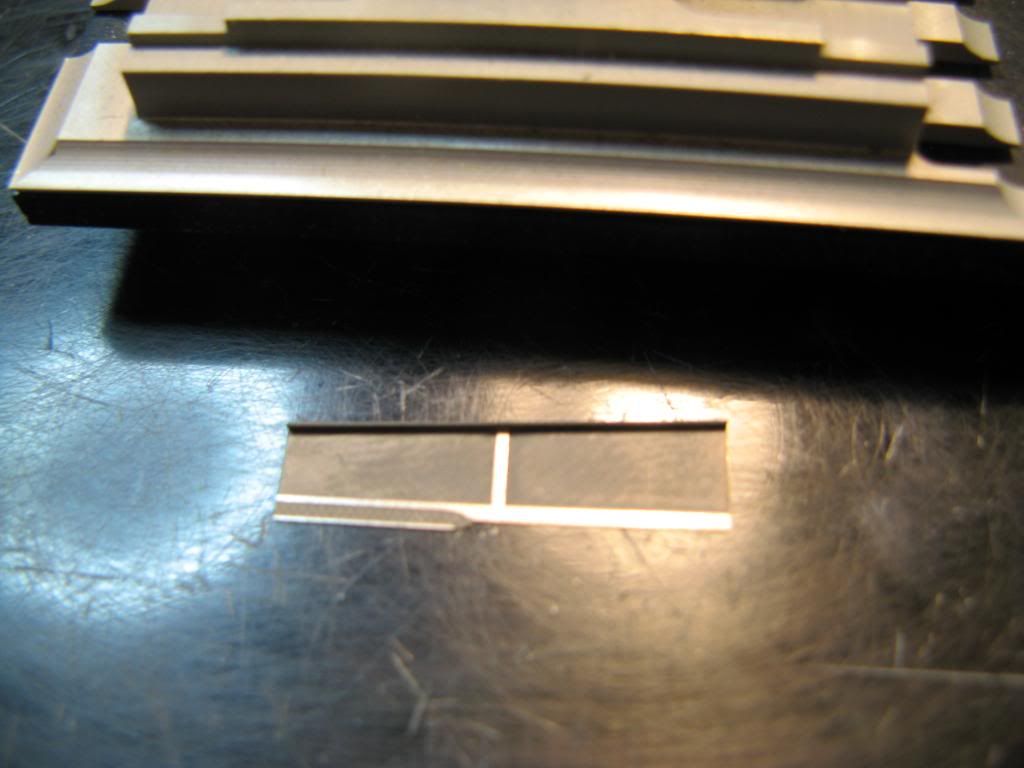
The cockpit sidewalls are photoetch. These have a lip on them at the bottom which required careful folding. I don't know how I would have done this if I did not have the right tool for the job.
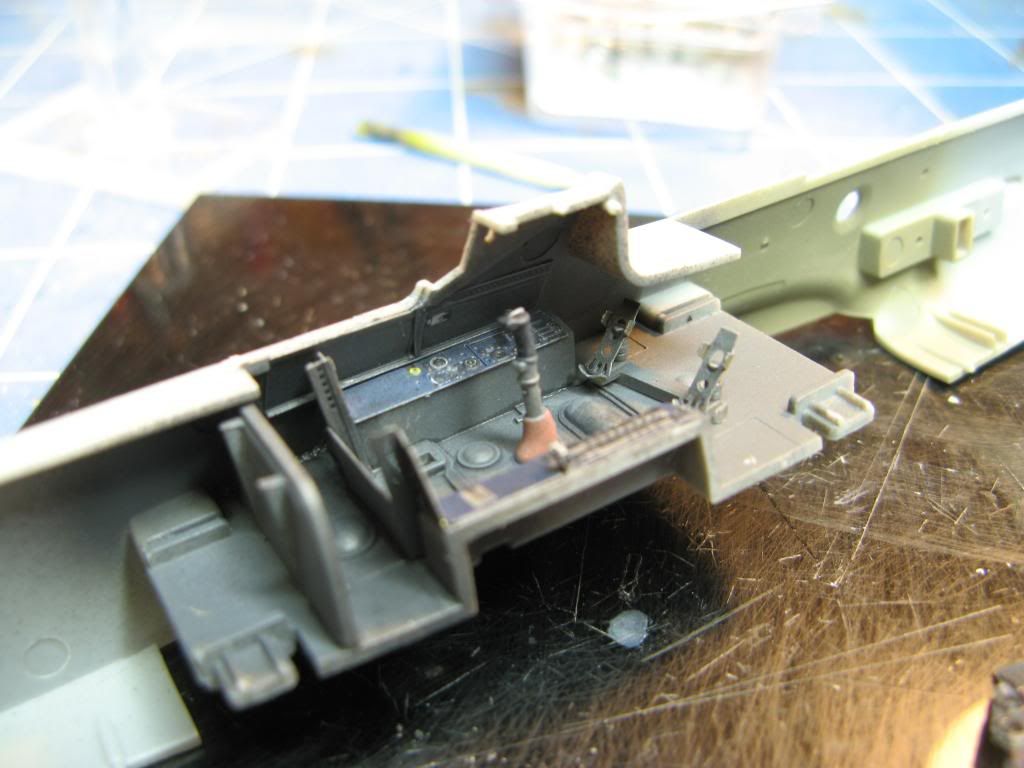
The rudder bar and the control column have been offset a bit. Since the kit has poseable control surfaces I'll place the ailerons and rudder to match. I'll have to remember to pose the tail wheel too or it might look a bit odd. Detail as been removed from the side consoles. This will be replaced with photoetch once the cockpit has been painted.
The photoetch rudder pedals from the kit were added to the rudder bar. I was going to use the Eduard replacements for this but one of them flew off into space as I cut it from the frame. I should have known better than to cut it unsecured. Of course after hunting around for it on the floor for about 20 minutes and then deciding to use the kit rudder pedals, I found it right next to the sprue it was cut from after I had done all the painting.
Looking at the layout of the cockpit it is apparent that Luftwaffe pilots had unfeasibly long legs in order to reach the rudder pedals.
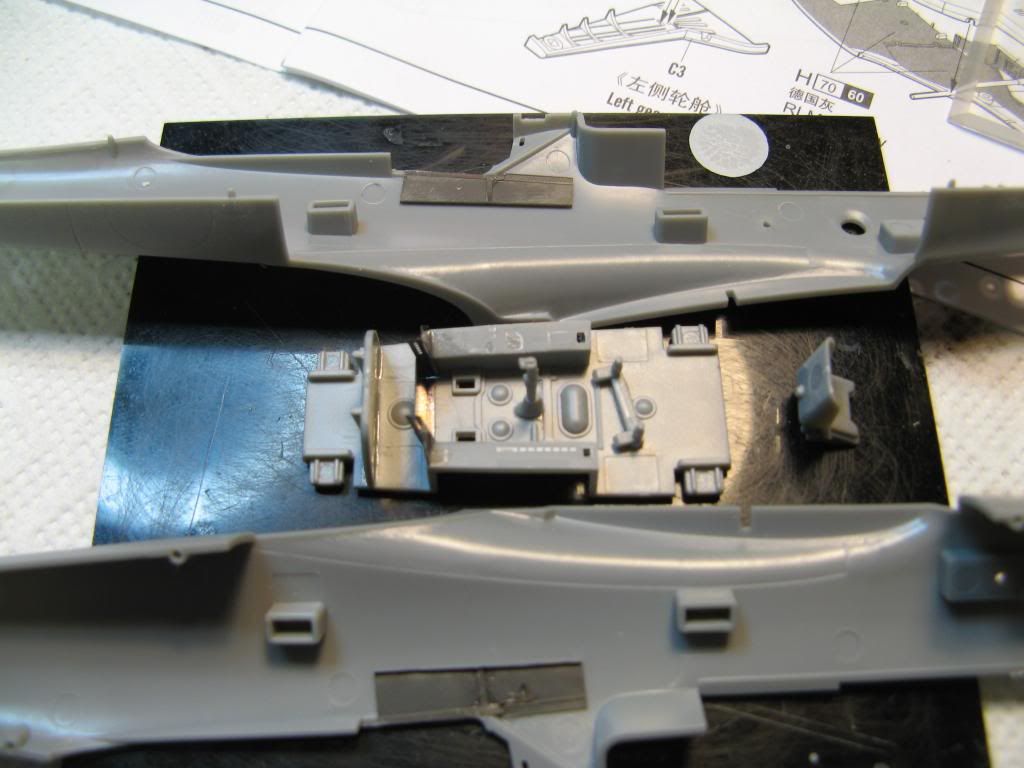
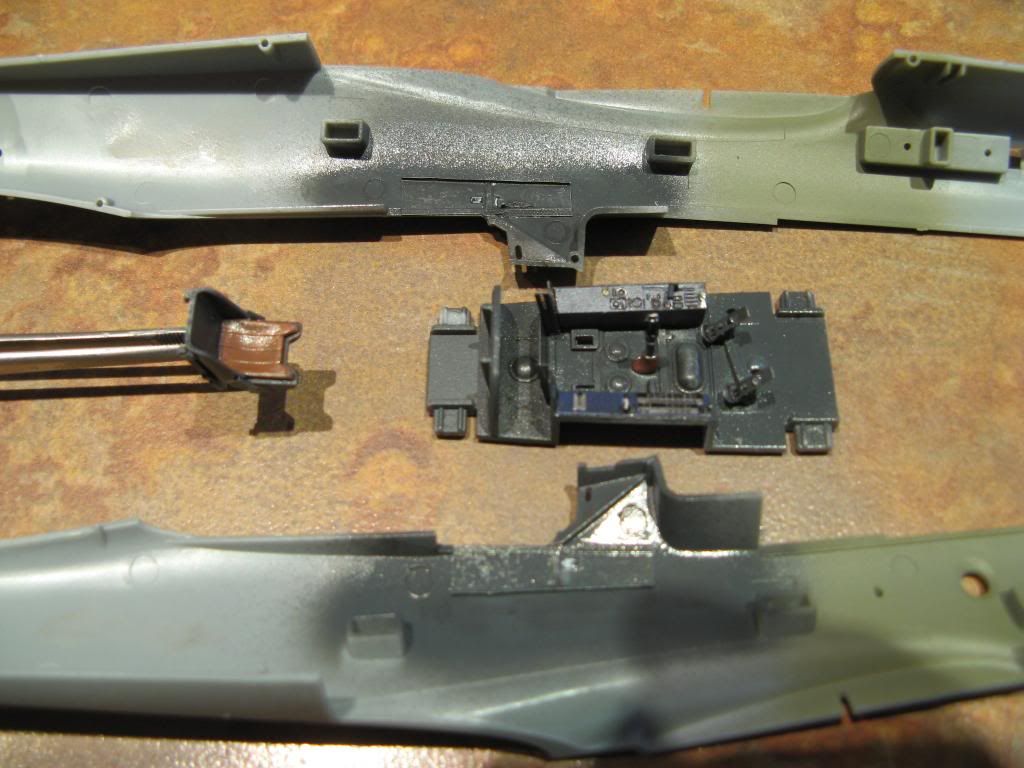
The cockpit was given a coat of paint. Luftwaffe cockpits of this era were painted in RLM 66 Black-Grey. The closest colour I have to this is Vallejo 71.055. The cockpit was drybrushed in a lighter shade of grey and then in lightly Citadel Chainmail. Scratches were done with a prismacolor silver pencil. I also sprayed the engine bay and the area around the tail wheel. These were in Vallejo 71.044 which is a good match to RLM 02 grey.
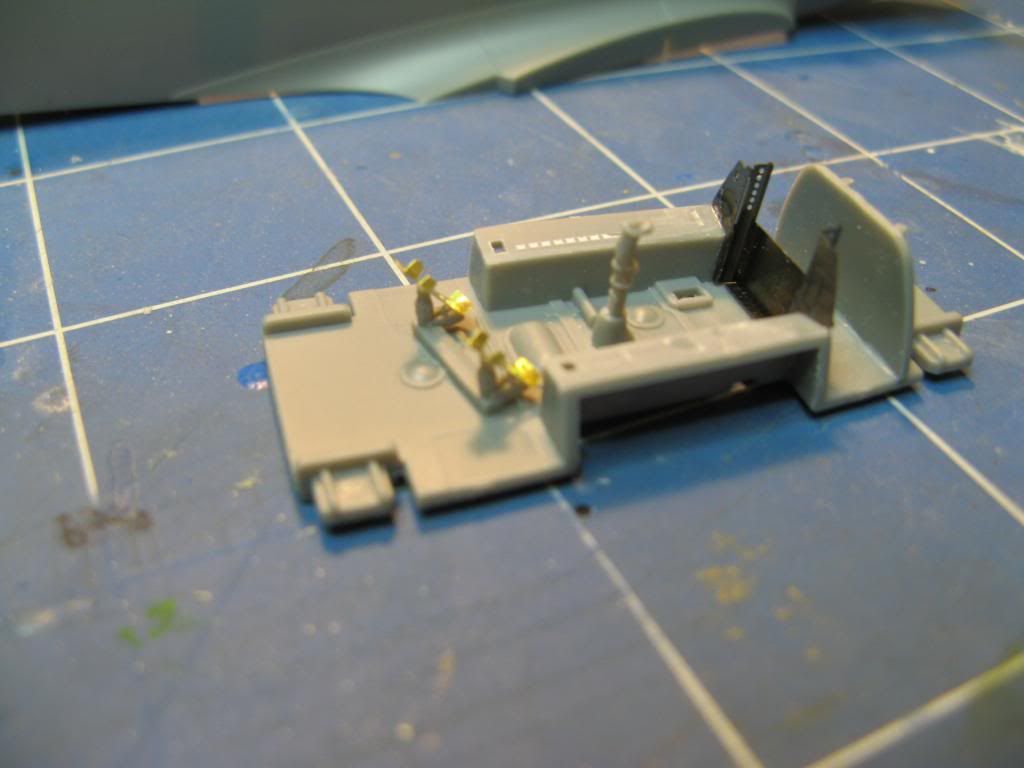
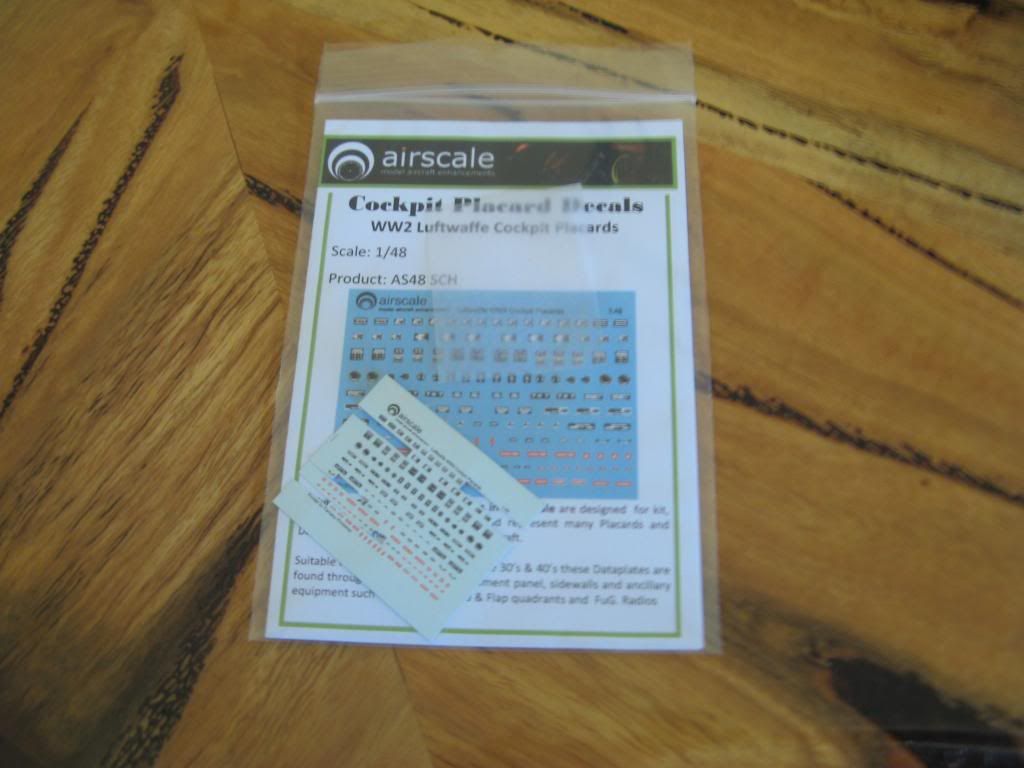
The cockpit was given a gloss coat and a few placards were placed using the Airscale WW2 Luftwaffe Placards set.
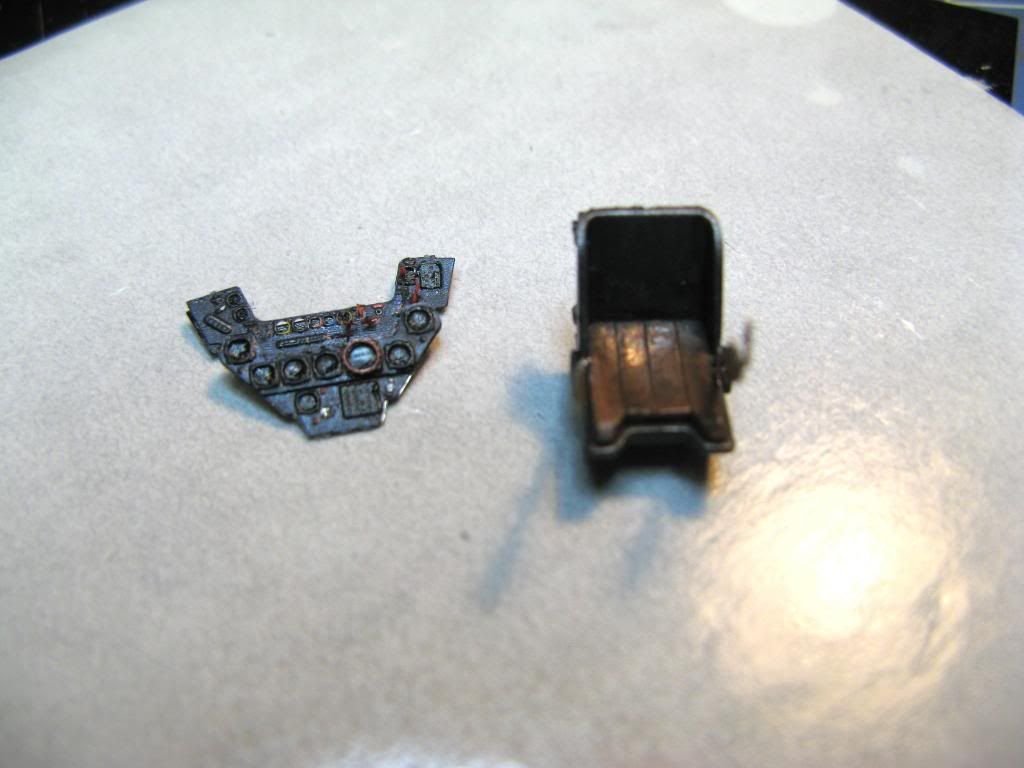
Another gloss coat and then the Eduard photoetch side panels were applied and the whole thing was given a wash with Lamp Black oil paint and Raw Umber for the leather on the seat. Applying the oil wash over the photoetched parts helps blend the colour in. The Eduard photoetch has a distinct blueish hue and the oils know that back a bit.
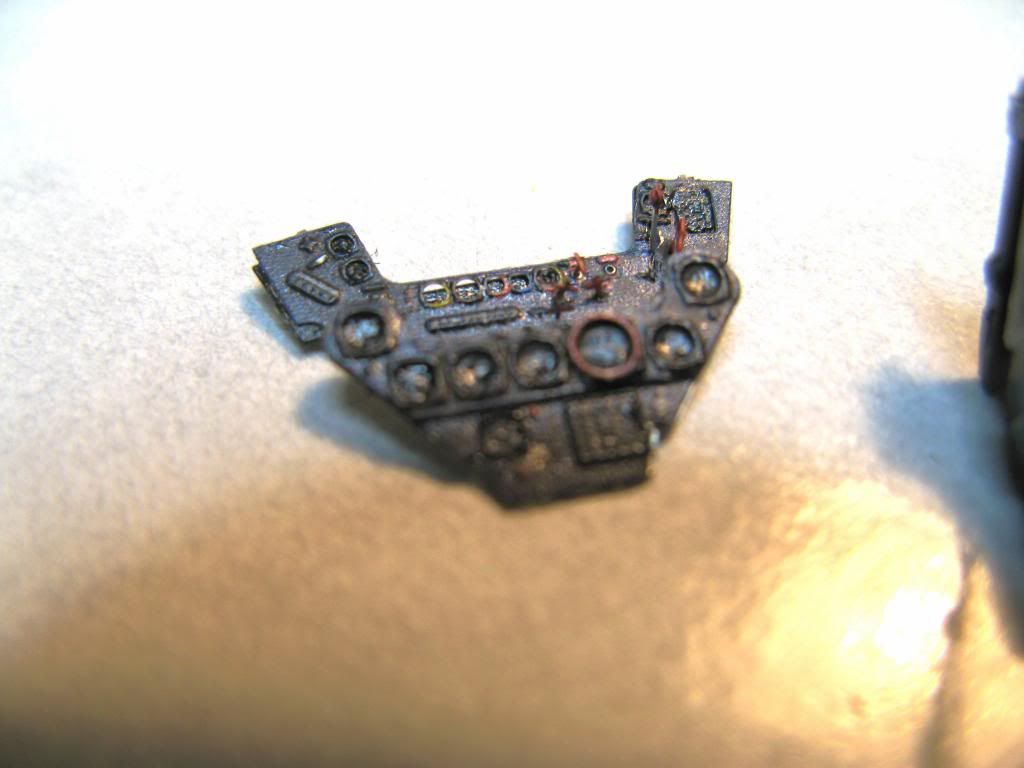
Assembling the instrument panel was fiddly. One of the tiny parts did fling off into space when I picked it up in the tweezers. It's hardly noticeable though...unless you notice it that is.
I also assembled the lap belts for the seat. I have not folded them onto the seat at this stage so the seat looks like its trying to grab a victim in some b-grade horror movie. "Leeetle 1/48 scale pilot you must sssit on me so I can eeeat you!"
The cockpit parts were given a coat of matt varnish and Crystal Clear was put into the instrument dials to simulate the glass. Finally the tub was installed into the fuselage.
Next time I'll work of the engine and the tail wheel and hopefully get the fuselage sides together.
On to part 3
No comments:
Post a Comment