Introduction
When I was building my 1/48 Mig-29A I used one of the front wheel door parts as a mask while I sprayed the camo. I (wrongly) assumed that there was a replacement in the Aires wheel well set I installed and to make the part fit I altered it. This made it useless for its intended purpose. I did have a the Eduard 1/48 Mig-29UB which has the same part so I could have used that, but that would render that kit useless. So, I decided to cast a replacement part from resin. As I was going to do this I thought it might be a good idea to make this tutorial to show how easy it is to do.Making the Mould
What you need
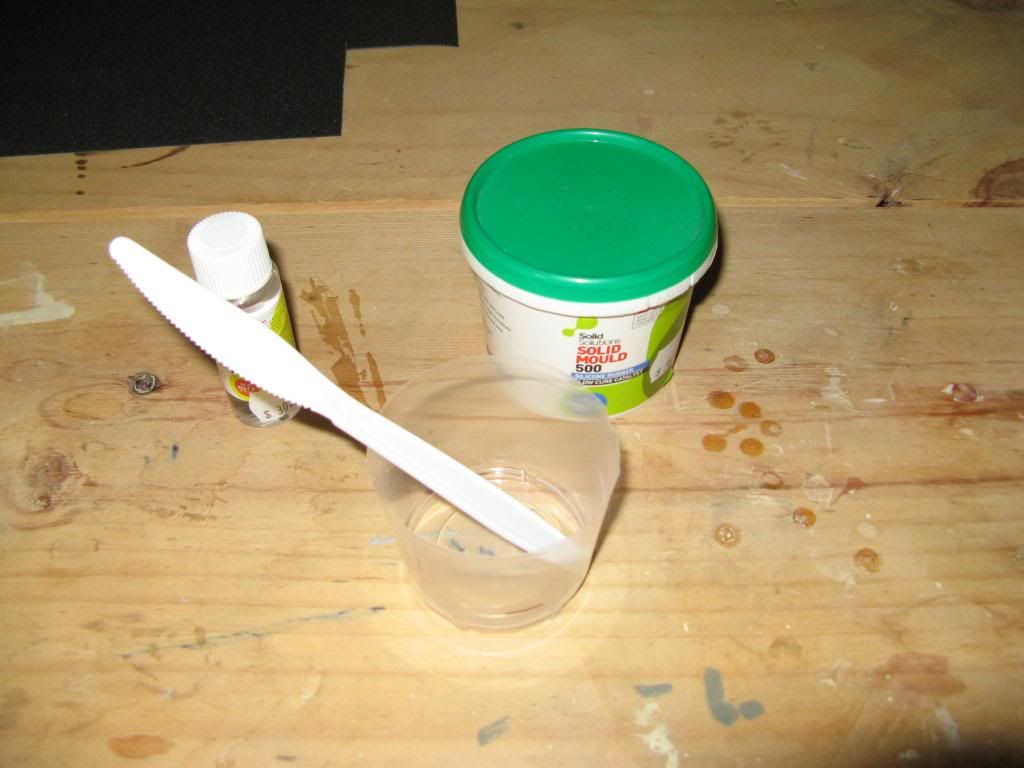
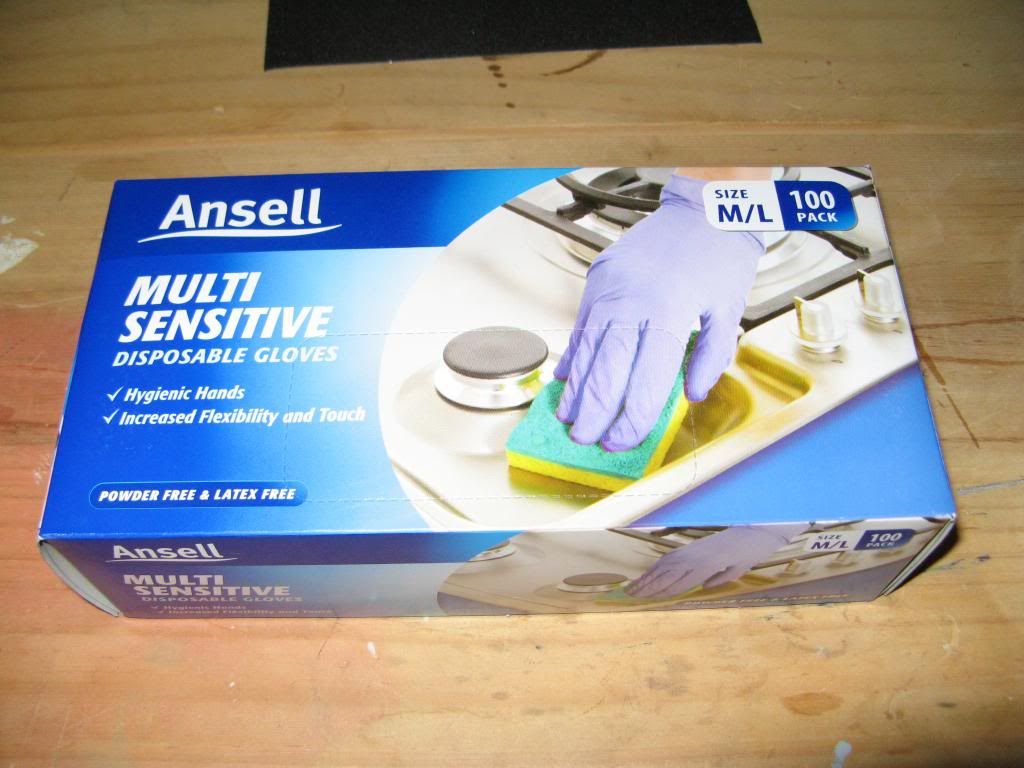
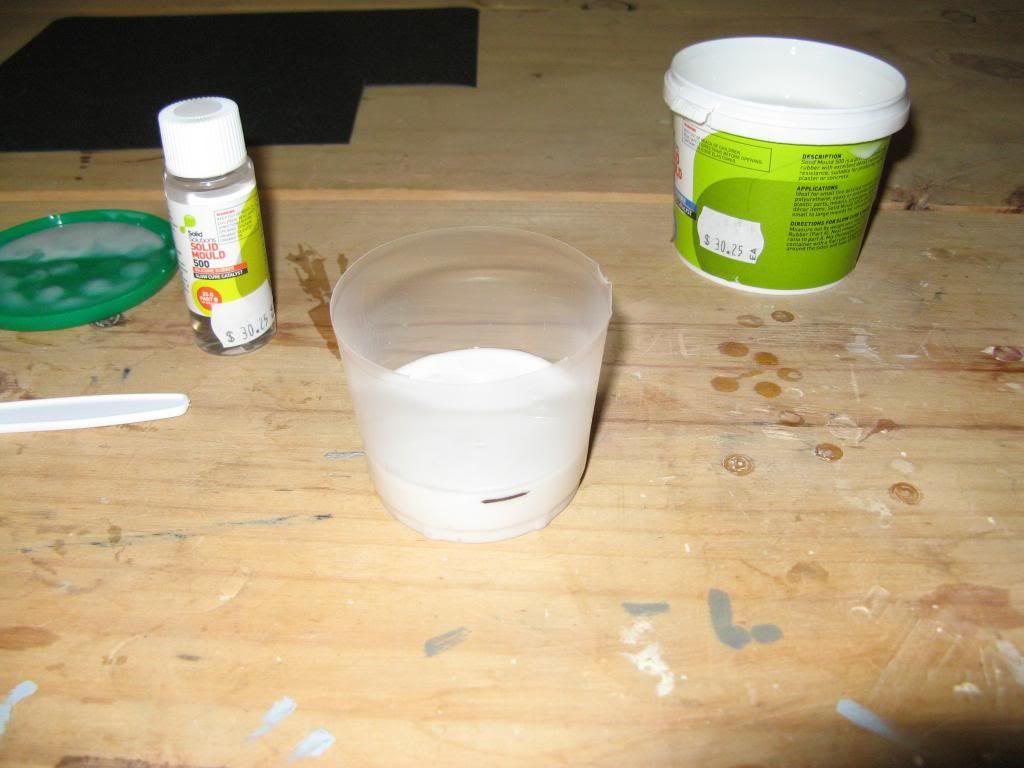
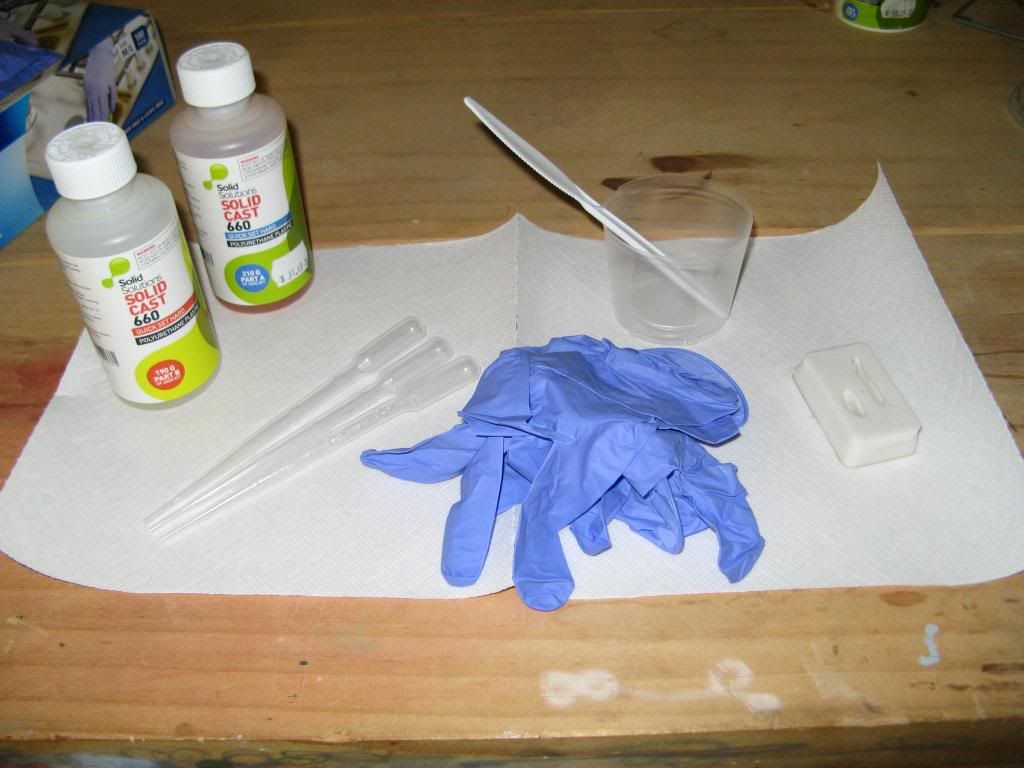
In order to make the mould you're going to need the following materials: Silicone Rubber, Catalyst, a clean mixing cup and a flat sided spatula (I used the handle of a disposable knife).You're also going to need some latex or nitrile gloves to keep this stuff off your hands as it is really sticky and according to the directions it can be hazardous. I have shares in this company so I recommend the brand :-)
Preparing the Master
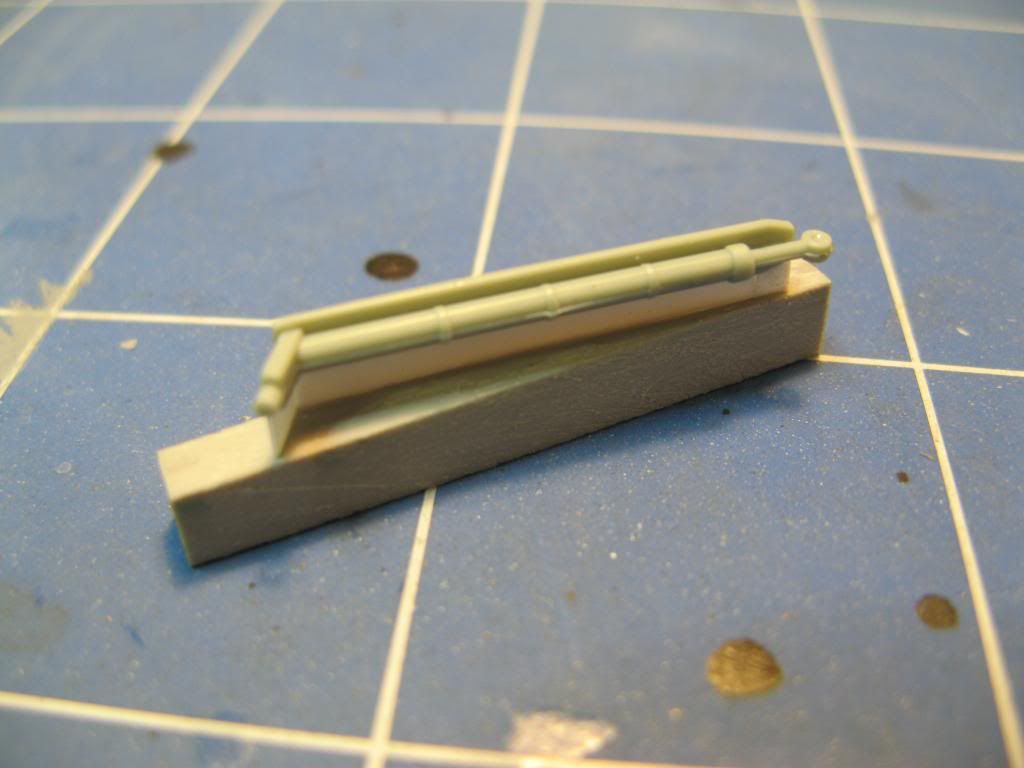
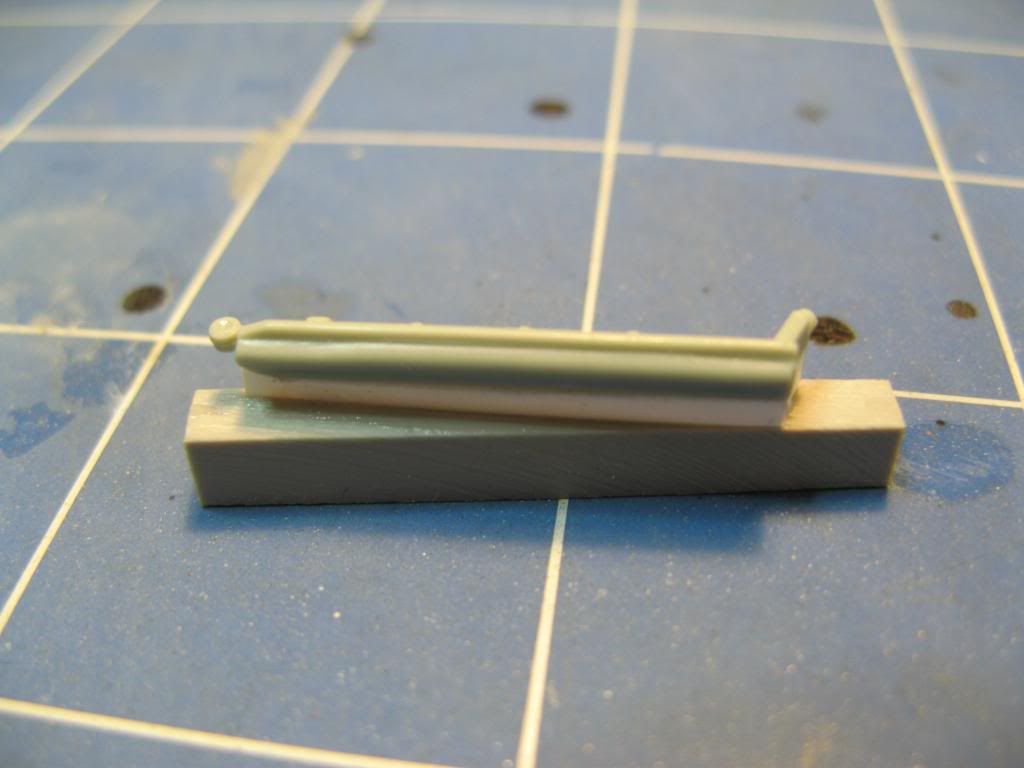
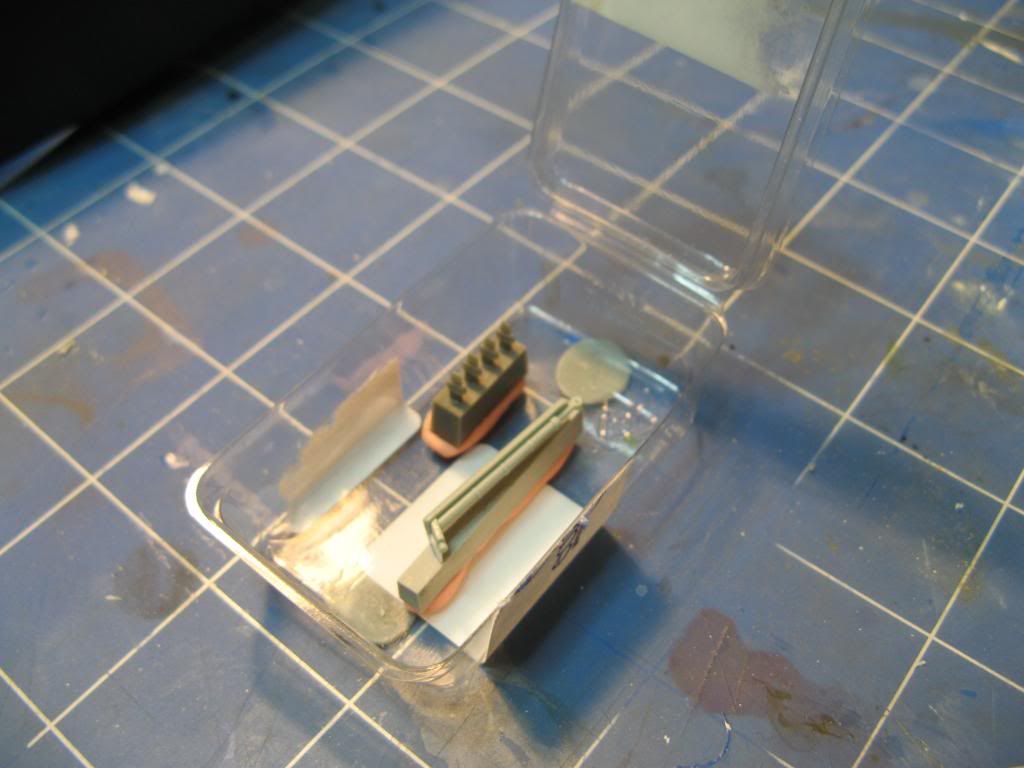
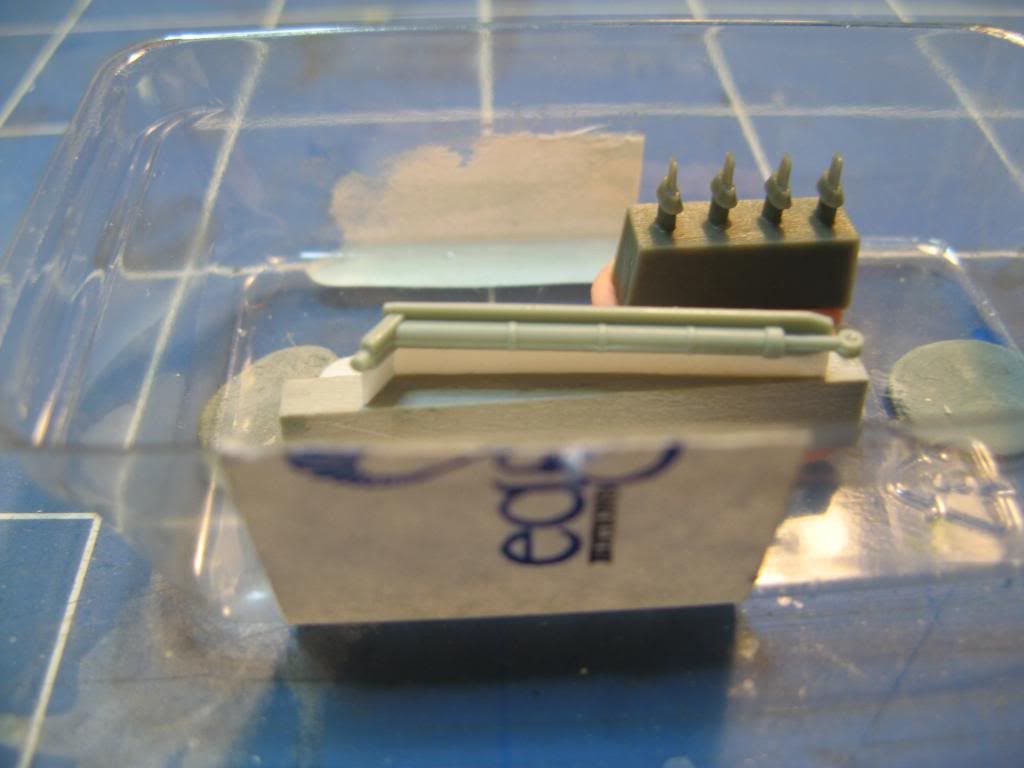
The part in question (the master) was given a cleanup and was temporarily cemented to some plasticard. This was then glues to a resin block with super glue. There is a small hole in one end and since this would create problems getting it out of the mould it was filled with a small amount of PVA.A suitable container for the mould was found. In this case it happens to be a blister pack from a resin update set. The master was stuck to the bottom of this using some plasticine. You can also see that I have taken the opportunity to cast another part at the same time.
Pouring the Mould
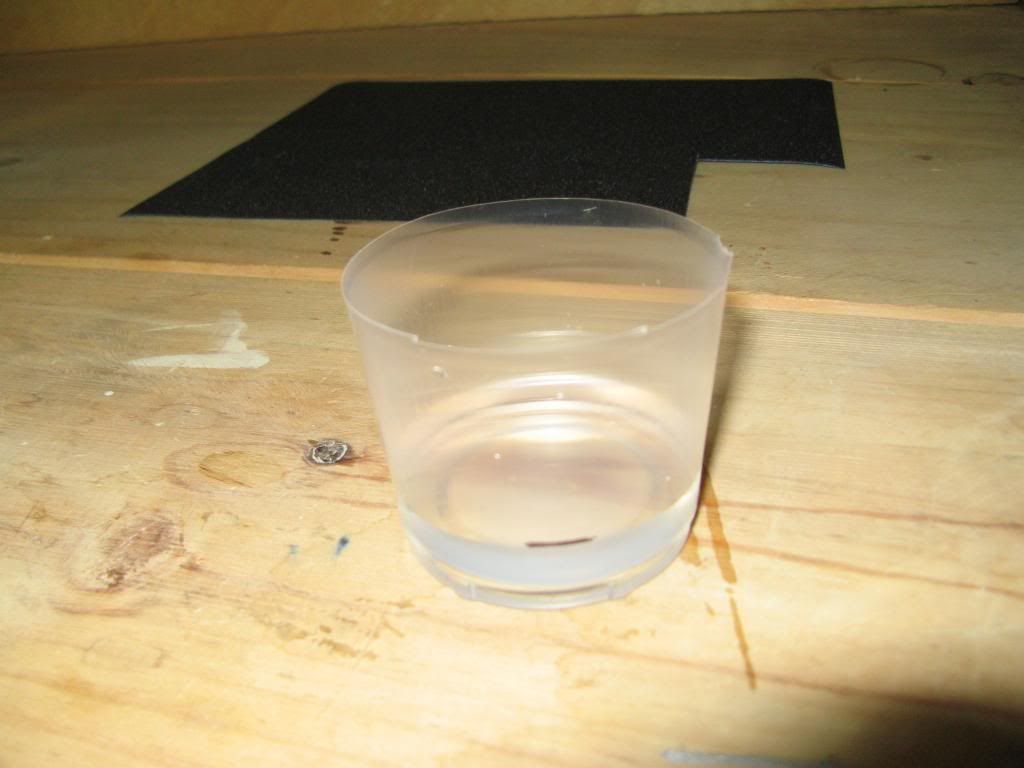
I measured the length, width and depth of the container that I was using as the mould. It was 6cm x 3.8cm x 2cm. This give a volume of near enough to 40ml. You can convert this to a weight of required silicone but since this is close to 1g per cubic centimeter I chose to work with the volume instead.I measured out 40ml of water and poured it into my mixing cup. Using a permanent marker I marked where the water came up to.
The water was then discarded and the mixing cup dried thoroughly.
The silicone rubber was then poured into the mixing cup up to the mark. You can see I overshot a little as this stuff is really thick to pour.
For the amount of silicone rubber I was mixing I added 1.2ml of catalyst to the raw silicone. I then mixed it with the handle of the knife. You should try not to get air into the mix but it is really difficult not to. Professionals would put the mixture into a vacuum chamber to de-gas the silicone after it's mixed but I don't have that luxury. Also make sure that you scrape the sides and bottom of the pot while you're mixing it.
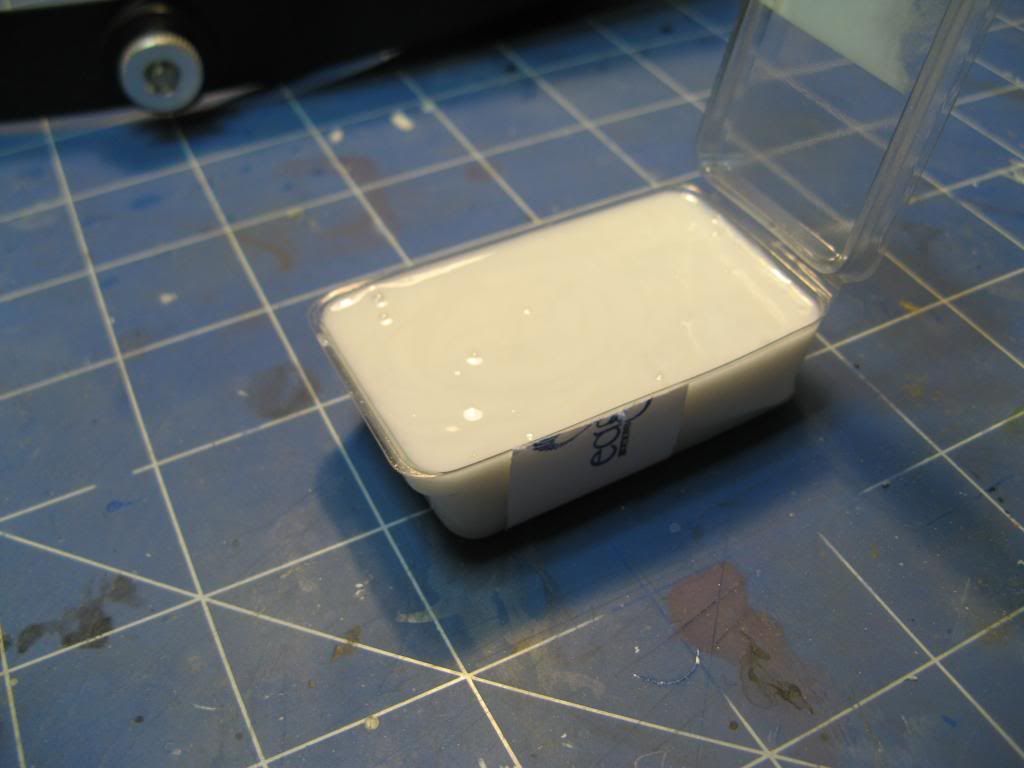
Once it was thoroughly mixed the rubber was then poured slowly into the mould. Start from one corner and let the rubber flow slowly around the master. This will minimise any chance of getting air bubbles. Again, professionals would do a second de-gassing at this stage and again I didn't. Once it is full set it aside for 24 hours to cure.
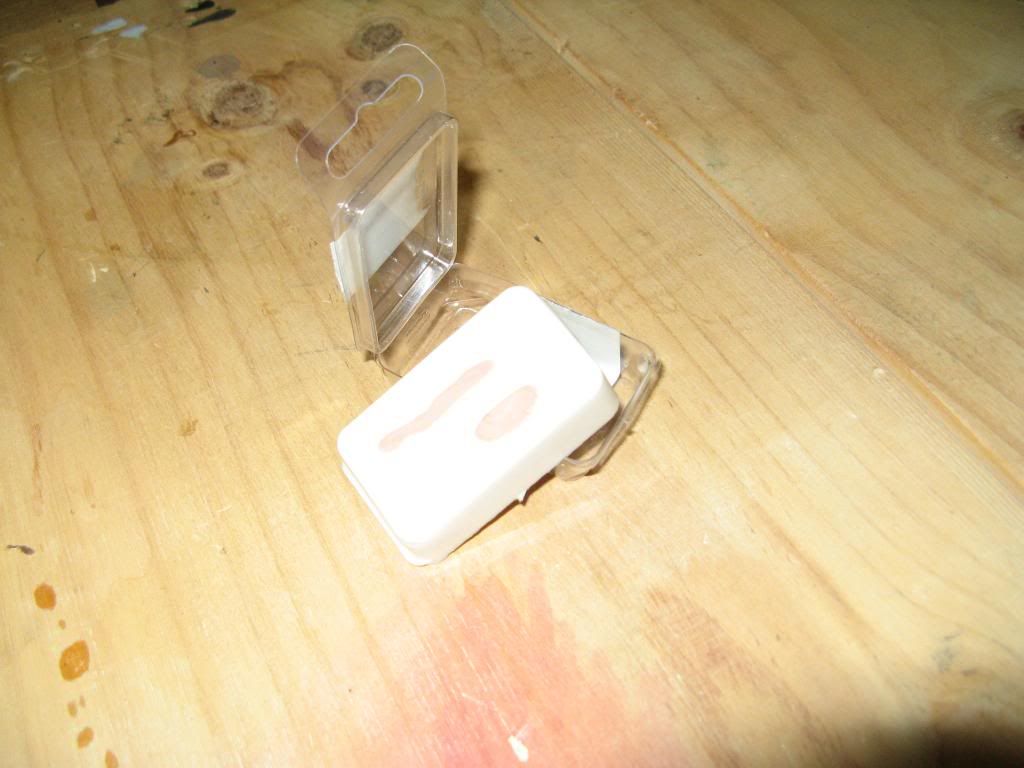
After it has cured you can remove the hardened silicone rubber from the container...
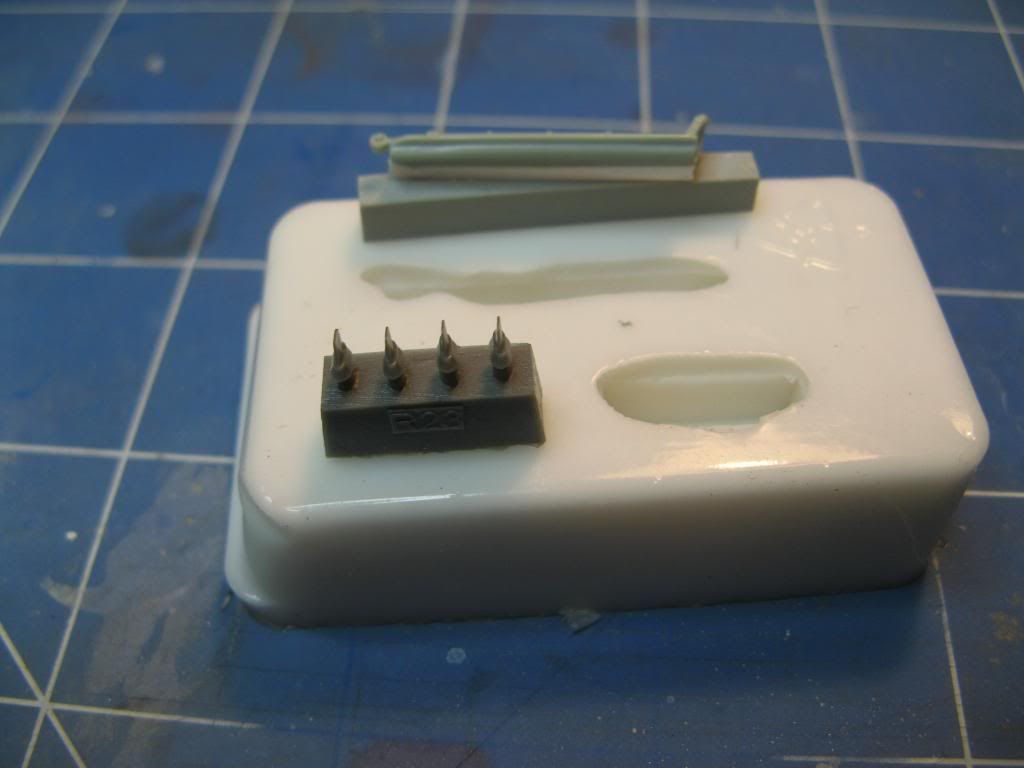
...and then remove the masters.
Casting in Resin
What you will Need
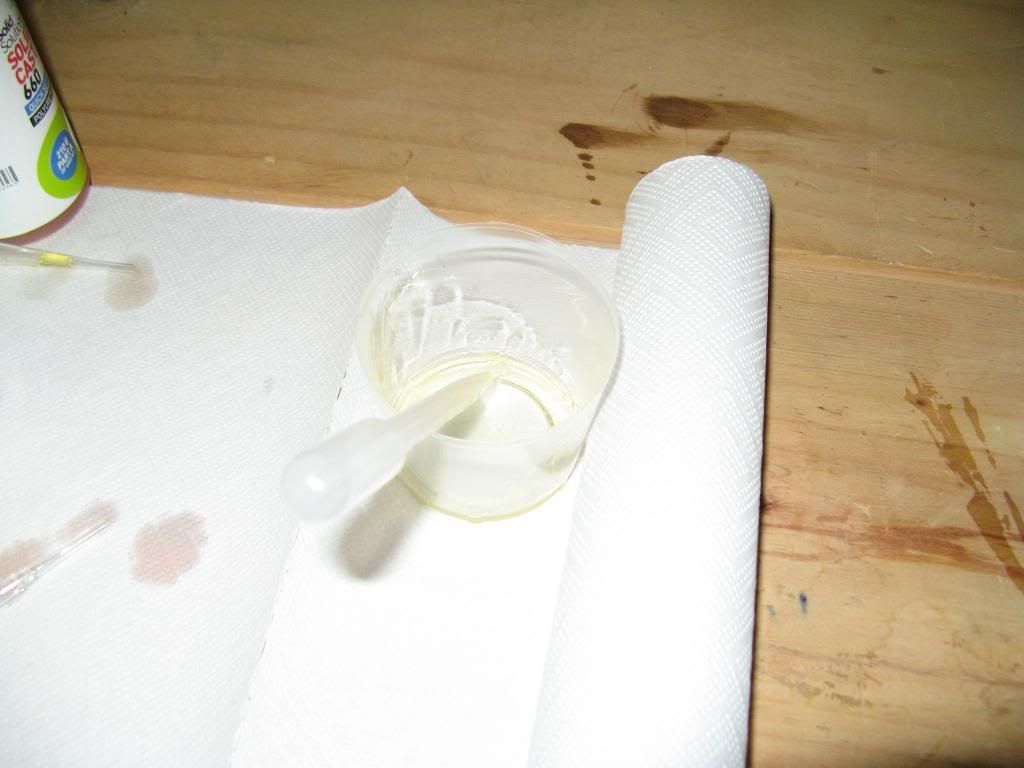
To do this part you will need. Part A and Part B resin, latex or nitrile gloves, a container to mix in, something to mix with and either two measuring beakers or, as I am using, disposable pipettes with measurements on the side...and of course your silicone rubber mould.
Put on the disposable gloves and measure out equal quantities by volume of part A and Part B resin. Add these to the mixing cup and stir thoroughly.
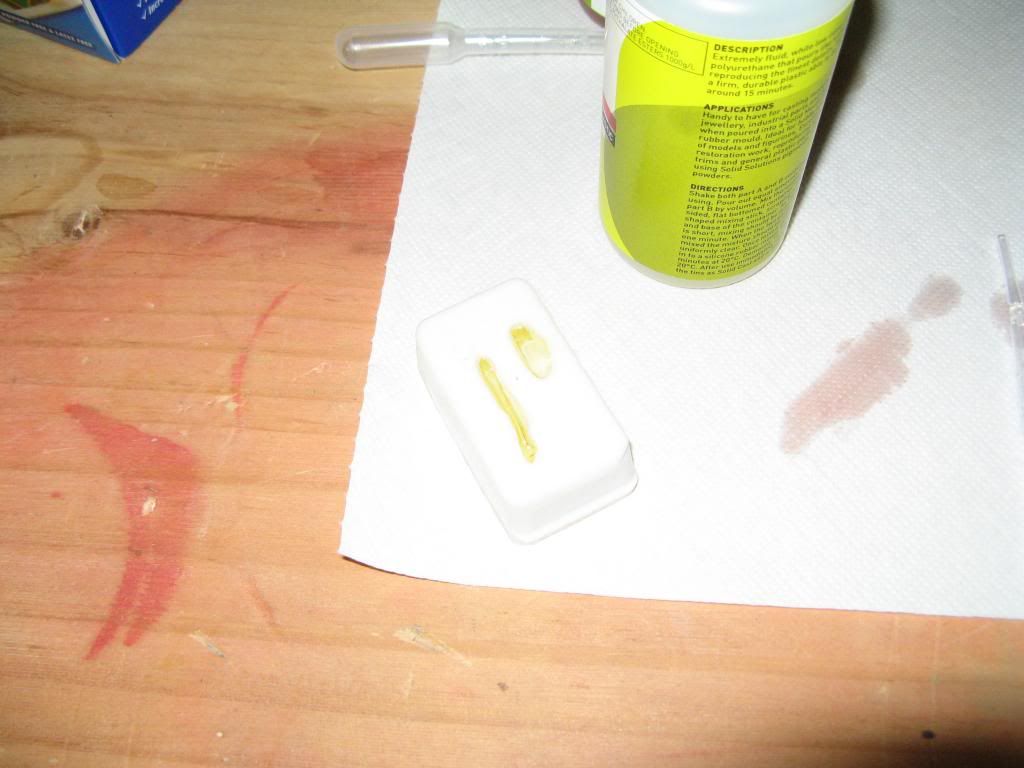
Once mixed pour the resin into the mould. In my case I used a third pipette to transfer the resin to the mould. Experiment with what works best for you. The trick is to get the resin into all parts of the mould without getting any air bubbles.
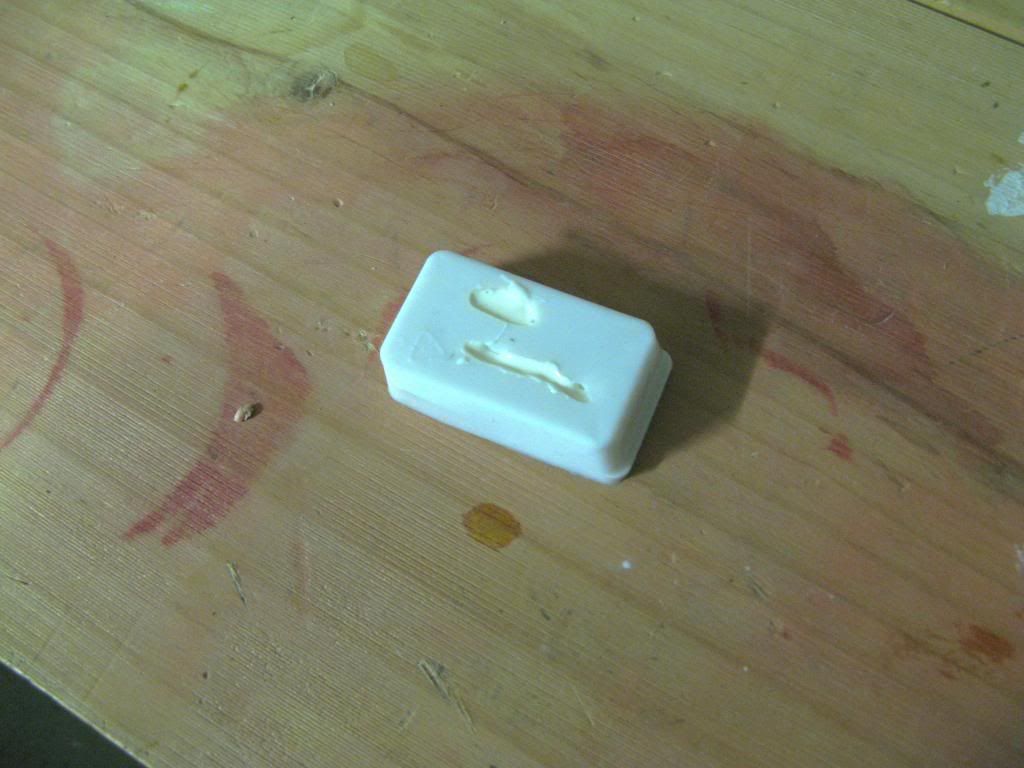
As the resin sets it will turn white. Leave it for 20-30 minutes before removing it from the mould.
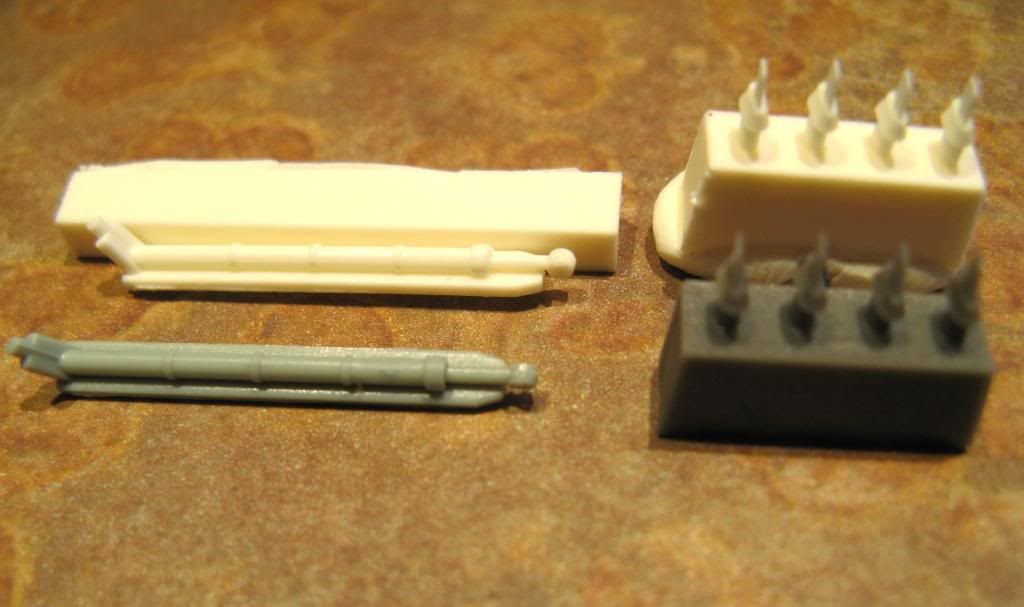
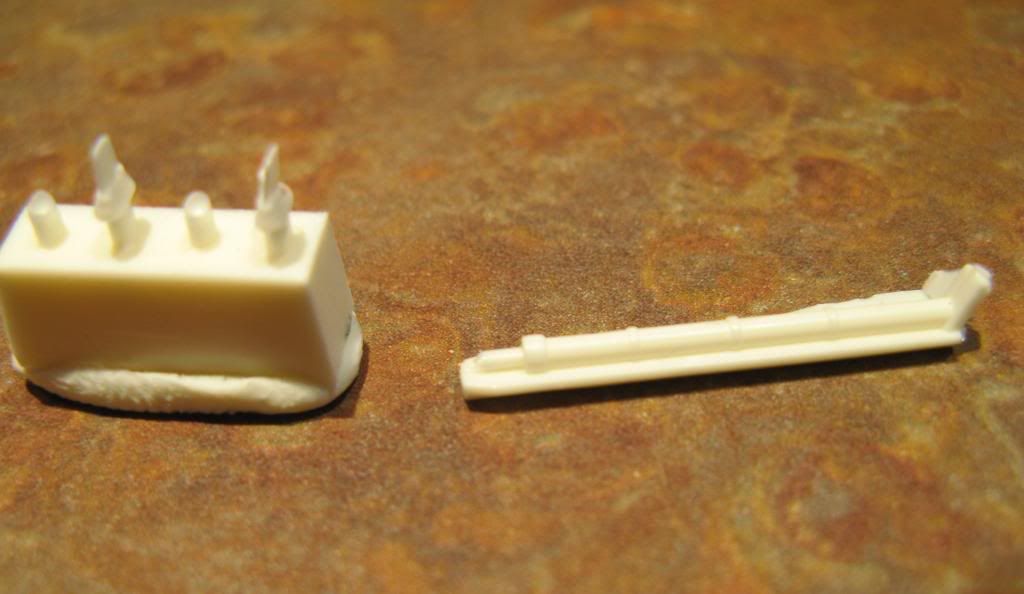
Success. Perfect copies of the originals.
Be prepared for some failures though.
I hope that you have found this useful.
No comments:
Post a Comment